Introduction to Django: Start and Configure a New Project
Introduction
Django is a powerful, high-level web framework written in Python that encourages rapid development and clean, pragmatic design. It follows the Model-View-Controller (MVC) architectural pattern (often referred to as Model-View-Template in Django docs). From simple websites to complex, high-load systems, Django allows you to build robust applications quickly.
One of the core philosophies of Django is "Don't Repeat Yourself" (DRY). It comes with "batteries included," meaning it provides a wide array of out-of-the-box classes and functions for common web development tasks, allowing you to focus on writing your app without reinventing the wheel.
In this tutorial, we will walk through the essential steps to get started with Django: setting up an environment, creating a new project, running migrations, creating an admin user, and launching the development server.
Setting up the environment
Before installing Django, it is best practice to create a Virtual Environment. This keeps your project dependencies isolated from other projects and your system-wide Python installation.
If you are not familiar with how to create and activate a virtual environment, please refer to my detailed guide here: How to use Python virtual environments (venv).
Once your environment is active, you can install Django using PIP:
xinit@localhost:~$ pip install django
Starting a new project
To create the project structure, use the django-admin command followed by your desired project name:
xinit@localhost:~$ django-admin startproject yourprojectname
This command creates a directory named yourprojectname. Inside, you will find a manage.py script (used to interact with the project) and a subdirectory (also named yourprojectname) containing the actual project settings:
- settings.py: Configuration for your project.
- urls.py: The URL declarations.
- wsgi.py / asgi.py: Entry points for web servers.
Database migrations
Django uses an Object-Relational Mapper (ORM) to interact with the database. By default, it uses SQLite, which requires no configuration. To synchronize the database with Django's default models (like users and sessions), you need to run migrations:
xinit@localhost:~$ python manage.py migrate
Creating an Admin user
Django comes with a built-in, production-ready Admin interface. To access it, you need a "superuser" account. Run the following command and follow the prompts (enter a username, email, and password):
xinit@localhost:~$ python manage.py createsuperuser
Running the server
Django includes a lightweight web server for development and debugging purposes. By default, it listens on 127.0.0.1 at port 8000. Start it with:
xinit@localhost:~$ python manage.py runserver
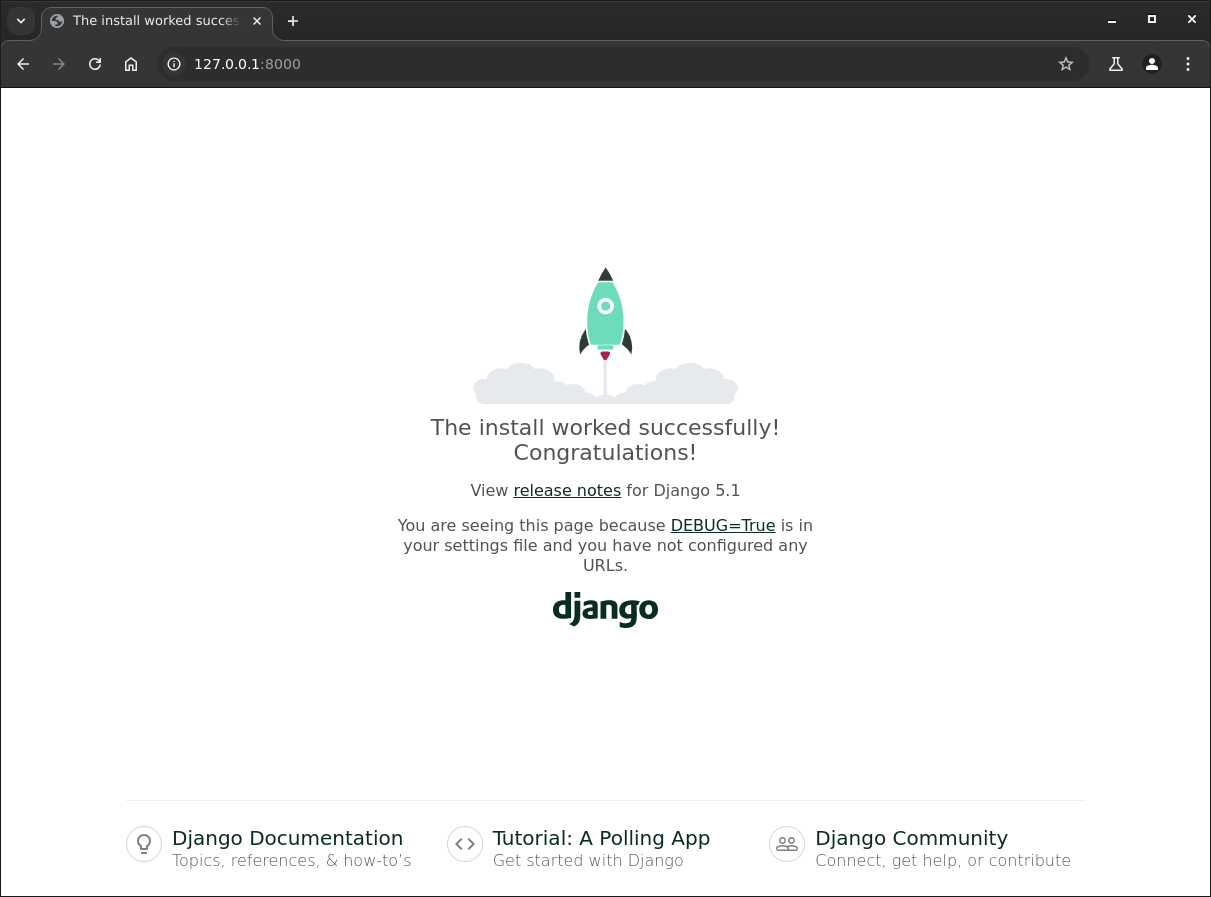
Now, open your web browser and navigate to http://127.0.0.1:8000/. You should see the Django welcome page indicating that the install worked successfully:
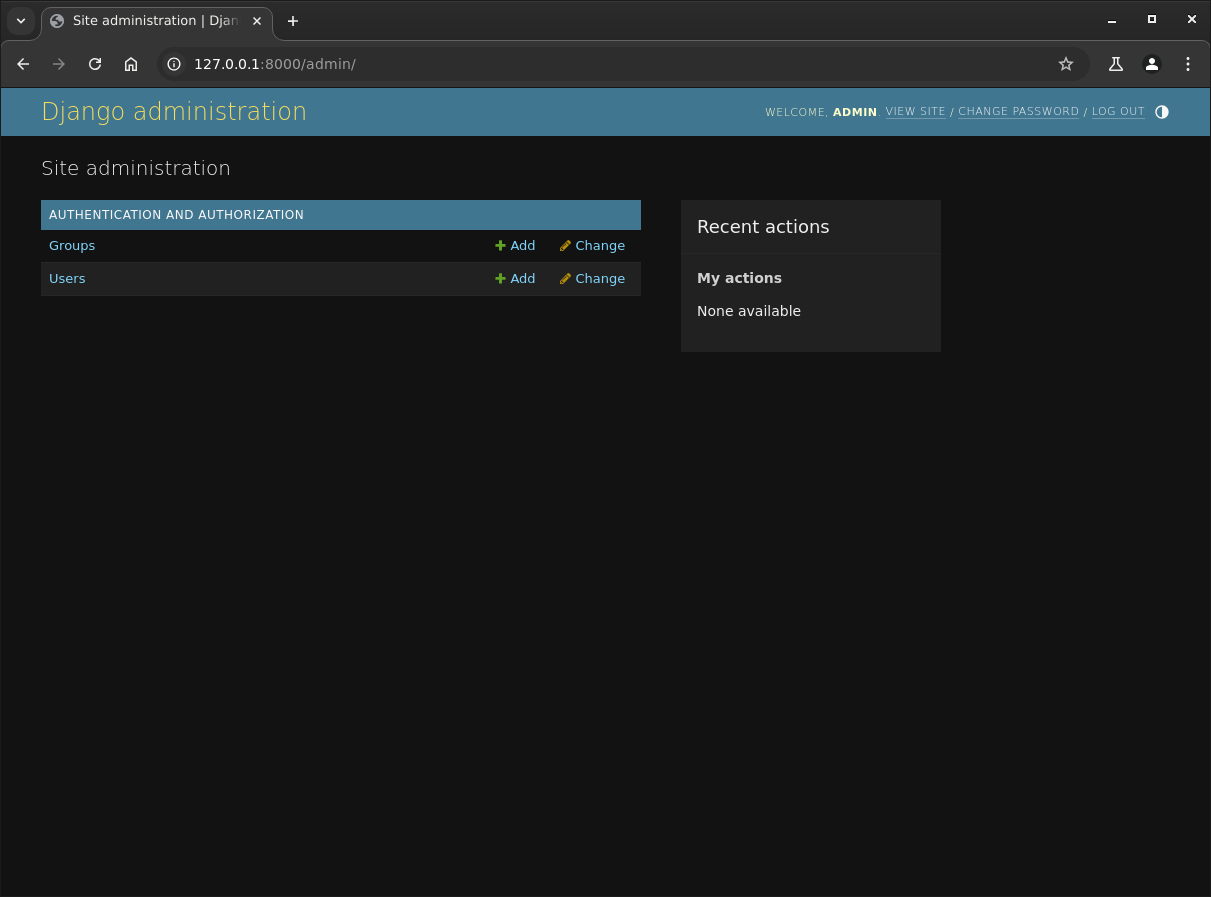
To access the Admin panel, go to http://127.0.0.1:8000/admin/ and log in with the credentials you created earlier. You will see the Django administration dashboard:
Conclusion
Congratulations! You have successfully set up a Django development environment. You now have a running project, a database configured with default tables, and access to the powerful administrative interface. This foundation is the first step toward building complex web applications. In future tutorials, we will dive deeper into creating Apps, Views, and configuring URLs.