Essential First Steps to Secure a Linux VPS
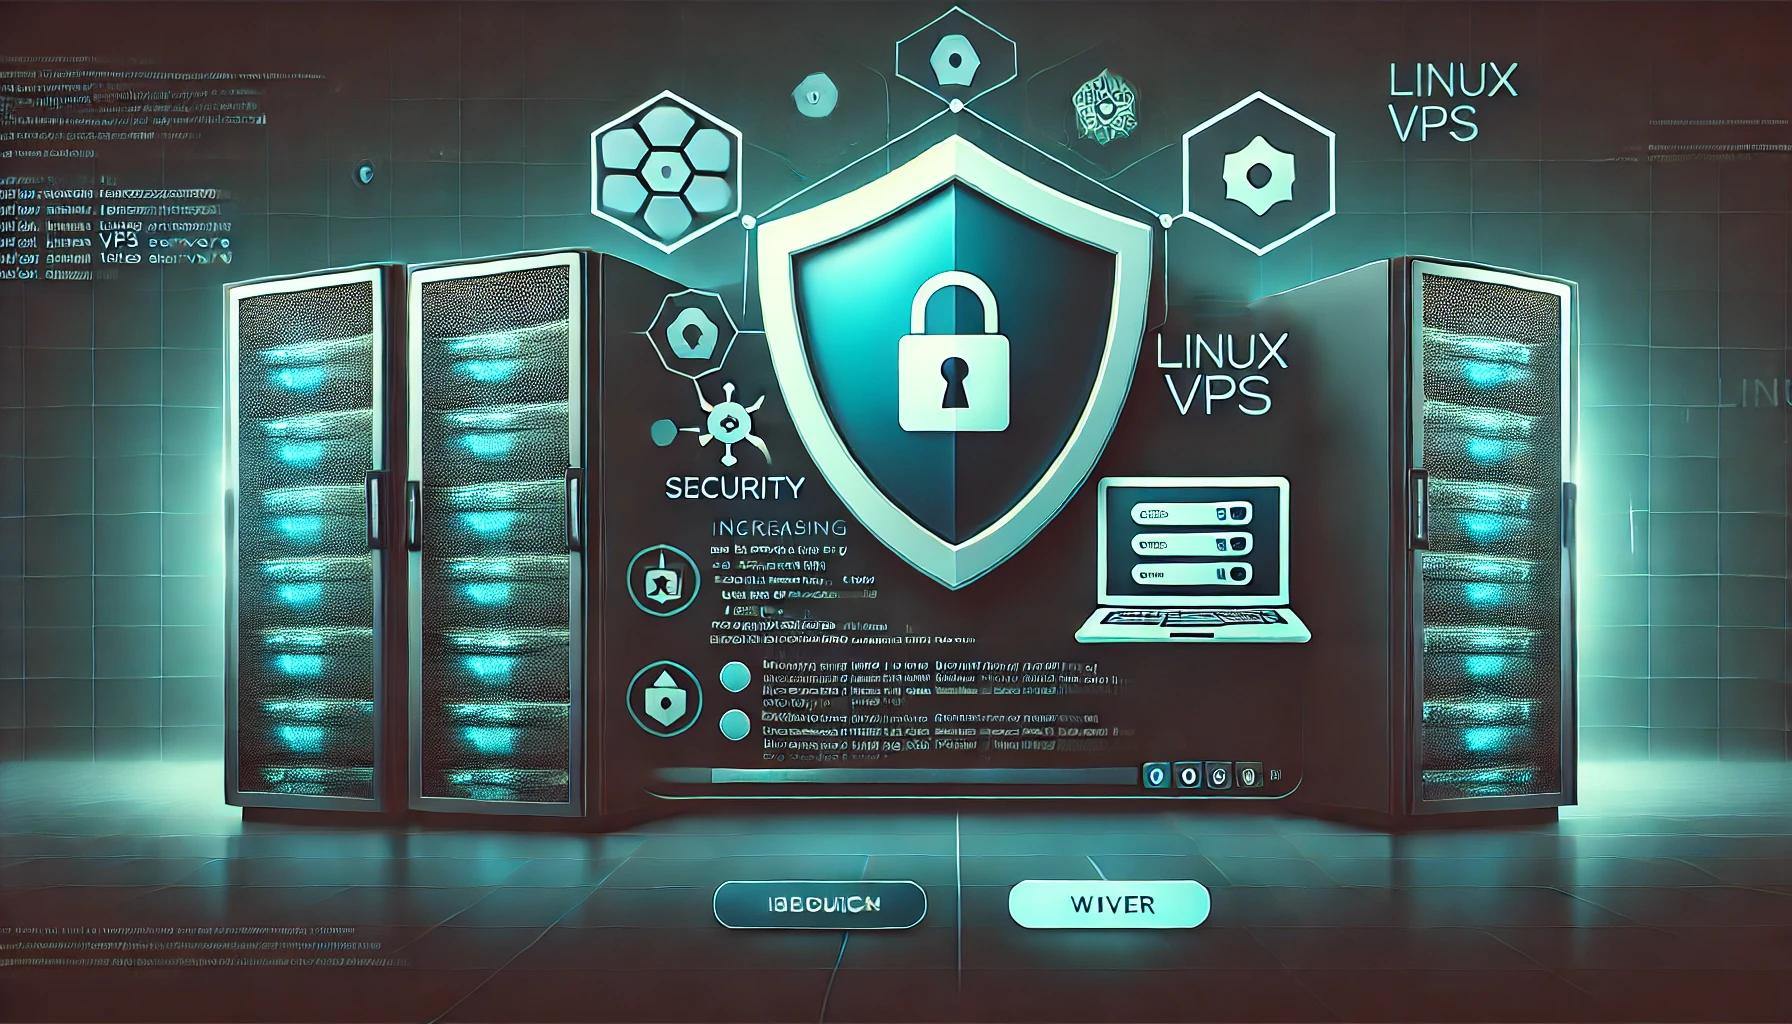
-> Essential First Steps to Secure a Linux VPS
- How to Install and Configure Fail2ban for SSH and Nginx Protection
- Moving from Passwords to SSH Keys: The Final Security Layer
Introduction
When you buy a new Virtual Private Server (VPS), most providers deliver a machine with remote root access enabled via SSH and password authentication. While convenient, this is a security nightmare. Bots constantly scan the internet for servers with weak root passwords.
This guide covers the "cheap and effective" measures you can take immediately to secure your server using standard Linux tools.
Step 1: Create a new user
Running everyday tasks as root is dangerous. One wrong command can destroy the system. We will create a regular user with sudo privileges.
Connect to your new server using the credentials provided by your host:
xinit@localhost:~$ ssh root@your_servers_ip
Create a new user (replace username with your desired login):
xinit@localhost:~$ adduser username
The system will ask for a password and some details. Make sure to set a strong password. You can skip the personal details (Full Name, Room Number, etc.) by pressing Enter.
Add the new user to the sudo group so they can execute administrative commands:
xinit@localhost:~$ usermod -aG sudo username
If sudo is not installed (common on minimal Debian images), install it:
xinit@localhost:~$ apt update && apt install -y sudo
Important: Before proceeding, open a new terminal window and try to log in as the new user to ensure everything works. Do not close your current root session yet!
xinit@localhost:~$ ssh username@your_servers_ip
Step 2: Lock down SSH
Now that we have a working user, we must disable direct root login. This is the single most effective step against brute-force attacks, as bots almost always target the root username.
Lock the root account's password to prevent password-based login for root locally:
xinit@localhost:~$ sudo passwd -l root
Open the SSH configuration file:
xinit@localhost:~$ sudo nano /etc/ssh/sshd_config
Find the line PermitRootLogin (it might be commented out with a #). Change it to look exactly like this:
PermitRootLogin no
Save the file (Ctrl+O, Enter) and exit (Ctrl+X).
Now, apply the changes:
xinit@localhost:~$ sudo systemctl restart sshd
Step 3: Reduce attack surface (disable IPv6)
If your infrastructure or application does not explicitly require IPv6, disabling it can reduce the "attack surface"—you have fewer network interfaces to monitor and secure.
Open the sysctl configuration file:
xinit@localhost:~$ sudo nano /etc/sysctl.conf
Add the following lines to the bottom of the file:
net.ipv6.conf.all.disable_ipv6=1
net.ipv6.conf.default.disable_ipv6=1
net.ipv6.conf.lo.disable_ipv6=1
Apply the changes immediately without rebooting:
xinit@localhost:~$ sudo sysctl -p
Step 4: Configure the Firewall (UFW)
We will use UFW (Uncomplicated Firewall) to close all ports except the ones we explicitly need.
Install UFW:
xinit@localhost:~$ sudo apt install -y ufw
Option A: Standard protection (recommended for dynamic IPs)
If you are connecting from home and have a dynamic IP address (your IP changes when you restart your router), use the limit rule. This allows connections from anywhere but blocks an IP if it attempts to log in too many times in a short period (anti-bruteforce).
Limit SSH connections:
xinit@localhost:~$ sudo ufw limit ssh
Option B: Paranoid mode (static IP only)
If you have a Static IP (e.g., a corporate VPN or a fixed ISP address), you can whitelist only your specific IP address. Warning: If your IP changes, you will be locked out.
Allow SSH only from your specific IP (replace X.X.X.X with your real IP):
xinit@localhost:~$ sudo ufw allow from X.X.X.X to any port 22
Enable the Firewall
Finally, enable the firewall. This will make the rules active and ensure UFW starts on boot.
Enable UFW:
xinit@localhost:~$ sudo ufw enable
Conclusion
Your VPS is now significantly more secure than the default setup. By removing root login, creating a sudo user, and configuring a firewall, you have filtered out 99% of automated bot attacks. For the next level of security, consider setting up SSH Key Authentication and disabling password login entirely.